
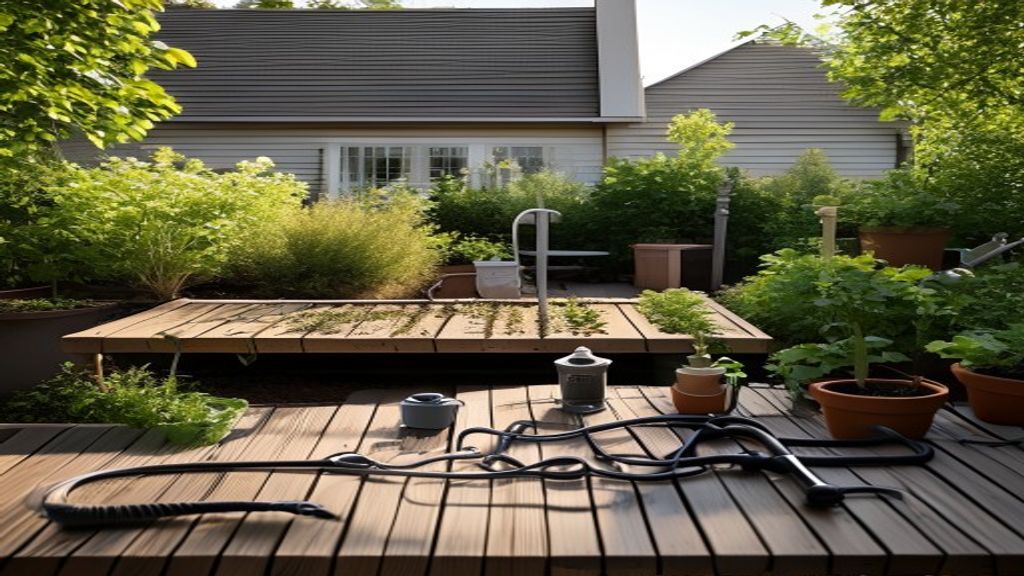
Before you start cutting tubing, make sure you have the few parts that actually make a simple drip system work: a timer, pressure/backflow adapter, main line, emitter tubing, connectors, stakes, and a starter kit if you want the easiest shortcut.
A weekend drip irrigation project gets much easier when you separate the shopping list from the installation steps. The install itself can be simple, but the aisle or search page can make everything look more complicated than it is. You do not need every fitting on the wall. You need a short set of compatible parts that move water from the faucet to the plants without leaking, kinking, or overbuying duplicates.
For most first-time patio, raised-bed, or small garden setups, the practical buy list is a faucet timer, a backflow and pressure-control adapter, half-inch main tubing, quarter-inch emitter tubing, connectors, stakes, and either a starter kit or separate pieces that match the same tubing sizes. If you already have a full kit, do not automatically buy every individual component again. Use the checklist below to fill gaps.
See the parts before you choose
Disclosure: these are site-controlled shopping links. Everyday Edit may earn a commission where affiliate tracking is available, at no extra cost to you.
Four core pieces cover the main weekend setup; smaller adapters are linked below instead of repeating similar kit images.
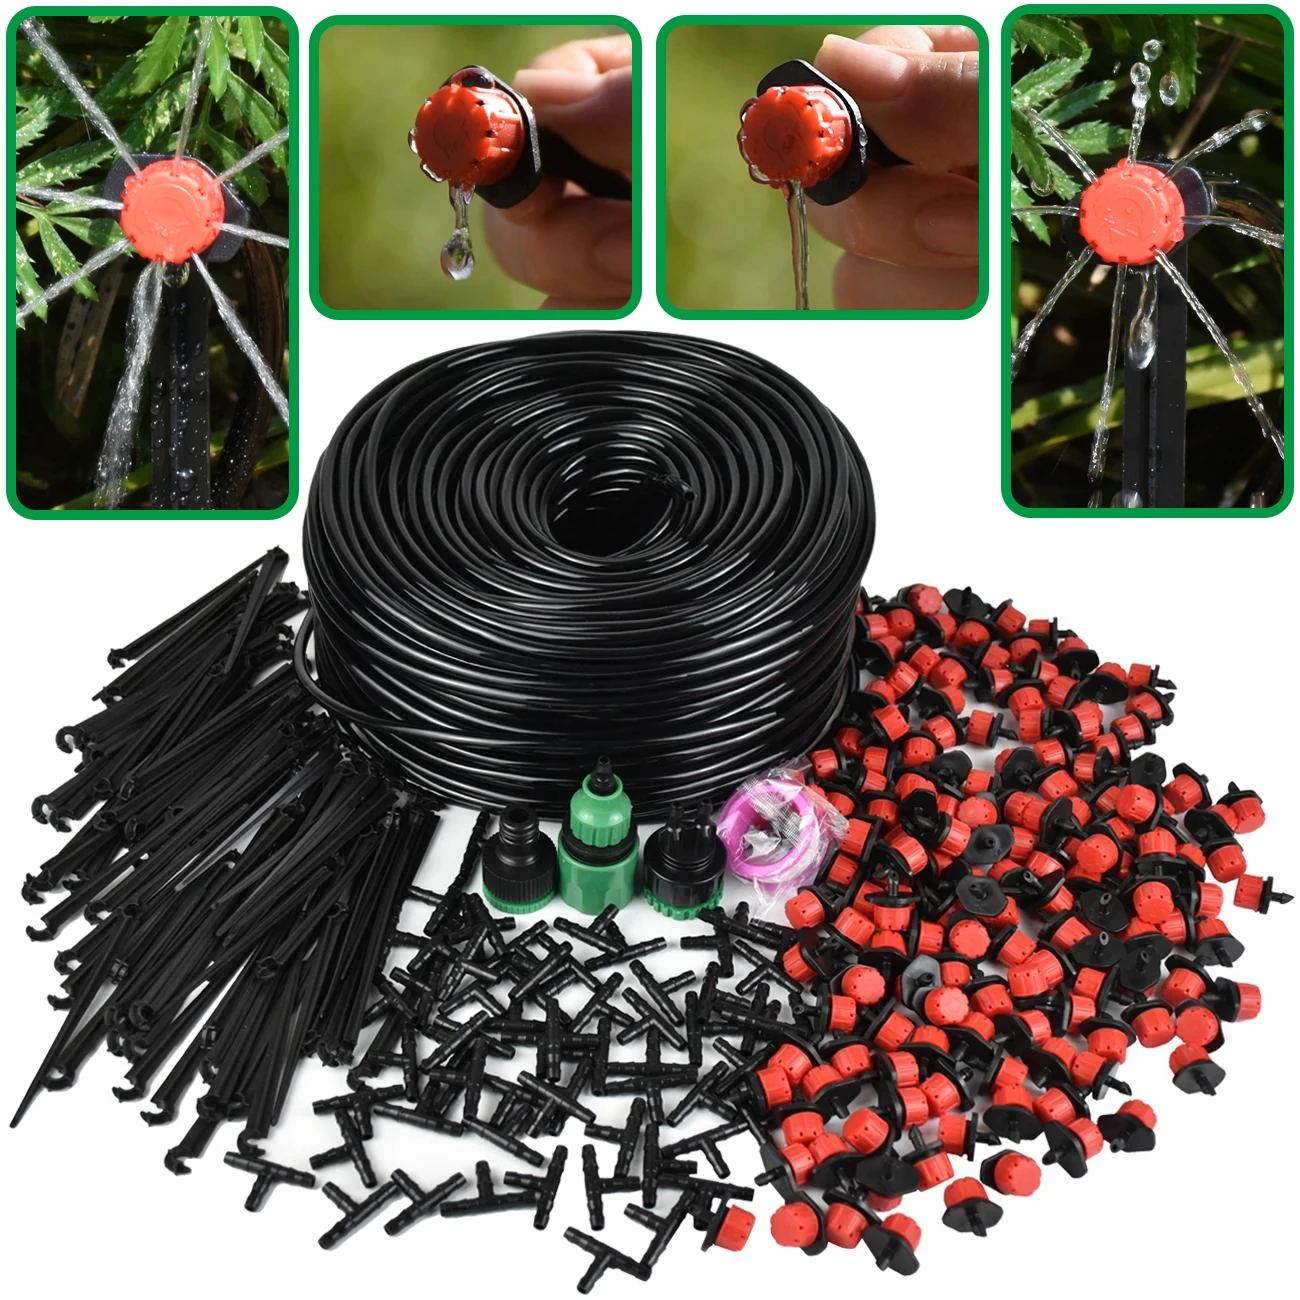
Drip Irrigation Starter Kit
A one-box shortcut when you want tubing, emitters, and fittings bundled together.
Shop via AliExpress
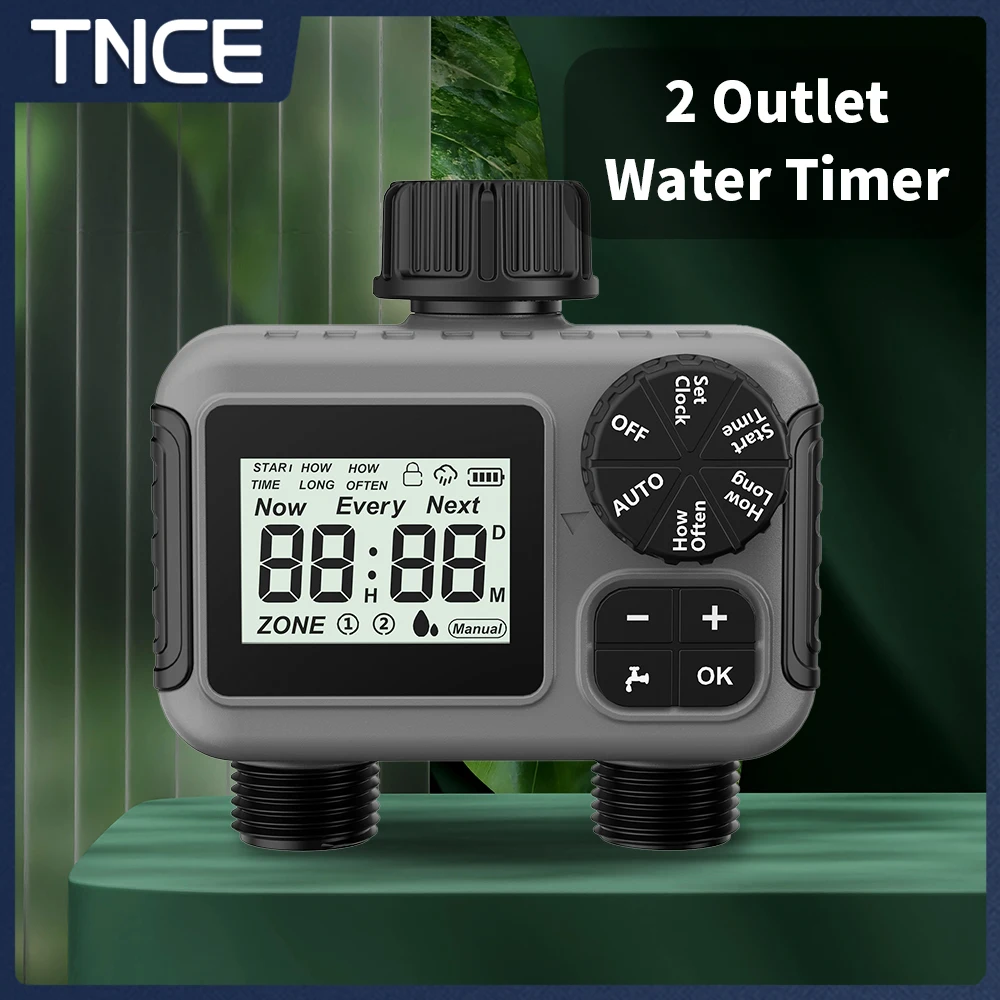
Programmable Hose Faucet Timer
The automation piece that turns a basic drip line into a lower-maintenance setup.
Shop via AliExpress

Half-Inch Main Tubing
The main supply line for running water along the bed before branching to plants.
Shop via AliExpress

Connector And Stake Kit
Small fittings for splitting, anchoring, and adjusting the line as the layout changes.
Shop via AliExpress
Also useful if you are building from separate parts: pressure regulator / backflow adapter and quarter-inch emitter tubing.
After you choose the parts, use the full installation walkthrough here: how to install a drip irrigation system.
The five-minute buying rule
Before you add anything to cart, sketch the route from the faucet to the farthest plant. Count the rough number of pots, shrubs, or rows you want to water, then decide whether you are building from a bundled kit or from separate parts. That one choice prevents most duplicate buying.
A bundled starter kit is the cleanest shortcut when you are new, because it usually includes tubing, emitters, fittings, and a hole punch in compatible sizes. Separate parts make more sense when you already know the bed length, need a better timer, or want to expand an existing system.
The parts checklist
Use this as the simple pre-install checklist before you start cutting anything.
- Faucet timer: controls when water turns on and off. Buy first if you want the system to run while you are away. Skip at first only if you plan to operate the faucet manually.
- Backflow preventer and pressure regulator: protects the faucet connection and lowers pressure for drip tubing. Buy first for most faucet-fed systems. Do not assume a random hose adapter does the same job.
- Half-inch main tubing: carries water from the faucet area along the bed. Buy first if your plants are spread across a longer run.
- Quarter-inch emitter tubing or drip line: branches toward individual plants or rows. Buy first if the kit does not include enough plant-level line.
- Emitters, connectors, tees, elbows, stakes, and a hole punch: the small pieces that let you branch, anchor, and adjust the layout. Buy a modest pack, not the largest assortment, unless your garden has multiple zones.
- Starter kit: useful if you want one compatible box. Skip if you already have most pieces or need a very specific timer and tubing length.
1. Drip irrigation starter kit
A starter kit is the easiest first purchase when you want the least compatibility guesswork. The point is not that a kit is always the highest-quality option; it is that the tubing, emitters, connectors, and punch tool are meant to work together. For a small patio, balcony planters, or one raised bed, that can be enough to get started without building a parts spreadsheet.
Choose a kit when you do not already own drip tubing and you want a single baseline system. Skip the kit if you are expanding an existing setup, if the included tubing diameter does not match what you already have, or if the timer in the bundle is weak and you would rather buy a better one separately.
2. Programmable hose faucet timer
The timer is the automation piece. It attaches to the outdoor faucet and controls when water flows through the system. A single-outlet timer is usually enough for one small bed or patio zone. A dual-outlet timer makes sense when the front planters and back bed need different run times.
Buy the timer early if the whole goal is to stop daily hand-watering. Wait on the upgraded multi-zone version if you have not mapped the layout yet. It is easy to overspend on timer features before you know whether the garden actually needs separate schedules.
3. Pressure regulator and backflow adapter
A faucet-fed drip system usually needs pressure control. Standard hose pressure can be too aggressive for small tubing and push-fit connectors, which is why a pressure regulator is a practical part of the setup. A backflow preventer is also commonly used at the faucet connection so garden water does not siphon backward.
This is not the most exciting piece in the cart, but it is one of the parts that helps the system behave. Check whether your starter kit already includes it. If not, add the adapter before buying decorative extras.
4. Half-inch main tubing
Half-inch main tubing is the backbone of a small drip layout. It runs from the faucet area along the bed or behind planters, then smaller lines branch from it toward the plants. Buy enough to follow a realistic path, including turns and a little slack, but do not buy a huge roll before you measure.
Choose main tubing when the plants are spread out. If you are only watering two or three pots sitting next to the faucet, a smaller kit may already include enough line. For a raised bed or side-yard run, the main line keeps the layout cleaner than running many tiny tubes directly from the faucet.
5. Quarter-inch emitter tubing
Quarter-inch tubing is the plant-level line. It branches from the main tubing and brings water close to individual plants, containers, or short rows. Some tubing has built-in emitters; some setups use blank quarter-inch tubing with separate emitters at the end.
Buy this when your kit does not include enough branch line for the number of plants you counted. Do not assume more emitter tubing is always better. Too many branches on one small run can reduce flow at the end, especially if the layout is long or the timer is feeding multiple areas.
6. Connector and stake kit
Connectors, tees, elbows, end caps, stakes, and a hole punch are the small parts that make the layout adjustable. They are also the parts people tend to forget until they are halfway through the project. A modest connector and stake kit is usually enough for a first build.
Buy a small assortment if you are branching to multiple pots or rows. Skip the giant mixed box until you know what fittings your tubing uses. Mismatched connector sizes are one of the fastest ways to turn a simple project into a return pile.
What not to overbuy
The biggest mistake is buying a starter kit and then duplicating every part separately before opening the box. Check what the kit includes first. You may only need a better timer, extra main tubing, or more stakes.
The second mistake is buying the wrong tubing diameter. Half-inch and quarter-inch parts do different jobs, and the fittings need to match. If you are expanding an older setup, bring the existing tubing size into the decision.
The third mistake is upgrading the timer before mapping the zones. A premium timer is useful only if you actually need separate schedules. For one bed, a simple programmable hose timer can be the better first buy.
How this connects to installation
Once the parts are chosen, the installation sequence is straightforward: connect the timer and adapter at the faucet, run the main tubing, branch the smaller lines, stake the emitters, then test for leaks before setting the schedule. The existing Everyday Edit installation guide is the next step when you are ready to assemble the system.
Keep the first version small enough to troubleshoot. A clean one-zone setup that waters reliably is better than an ambitious multi-zone layout with mystery leaks and mismatched fittings.
The bottom line
If you want the simplest first drip irrigation setup, start with a compatible starter kit, a programmable faucet timer, pressure and backflow control, half-inch main tubing, quarter-inch emitter tubing, and a small connector and stake kit. Measure the route before you buy, check what the kit already includes, and upgrade only after the layout proves it needs more.