Automating your daily watering routine does not require a landscaping crew or complex plumbing. Here is a straightforward breakdown of the components you need and how to connect them in a single afternoon.
Daily manual watering is a rigid commitment that quickly turns garden maintenance from a quiet ritual into an unyielding chore. Setting up a drip irrigation system is the most effective way to reclaim that time. While the project sounds like an intense plumbing overhaul, modern drip systems are surprisingly simple, modular, and affordable. They function like an adult set of building blocks that plug directly into a standard outdoor faucet. You do not need to dig trenches, splice copper pipes, or hire a contractor. By gathering a few standardized components, you can build a fully automated, budget-friendly setup in one weekend.
See the picks before you choose
Disclosure: these are site-controlled shopping links. Everyday Edit may earn a commission where affiliate tracking is available, at no extra cost to you.
Four core pieces cover the main setup; smaller adapters are linked below instead of repeating similar kit images.
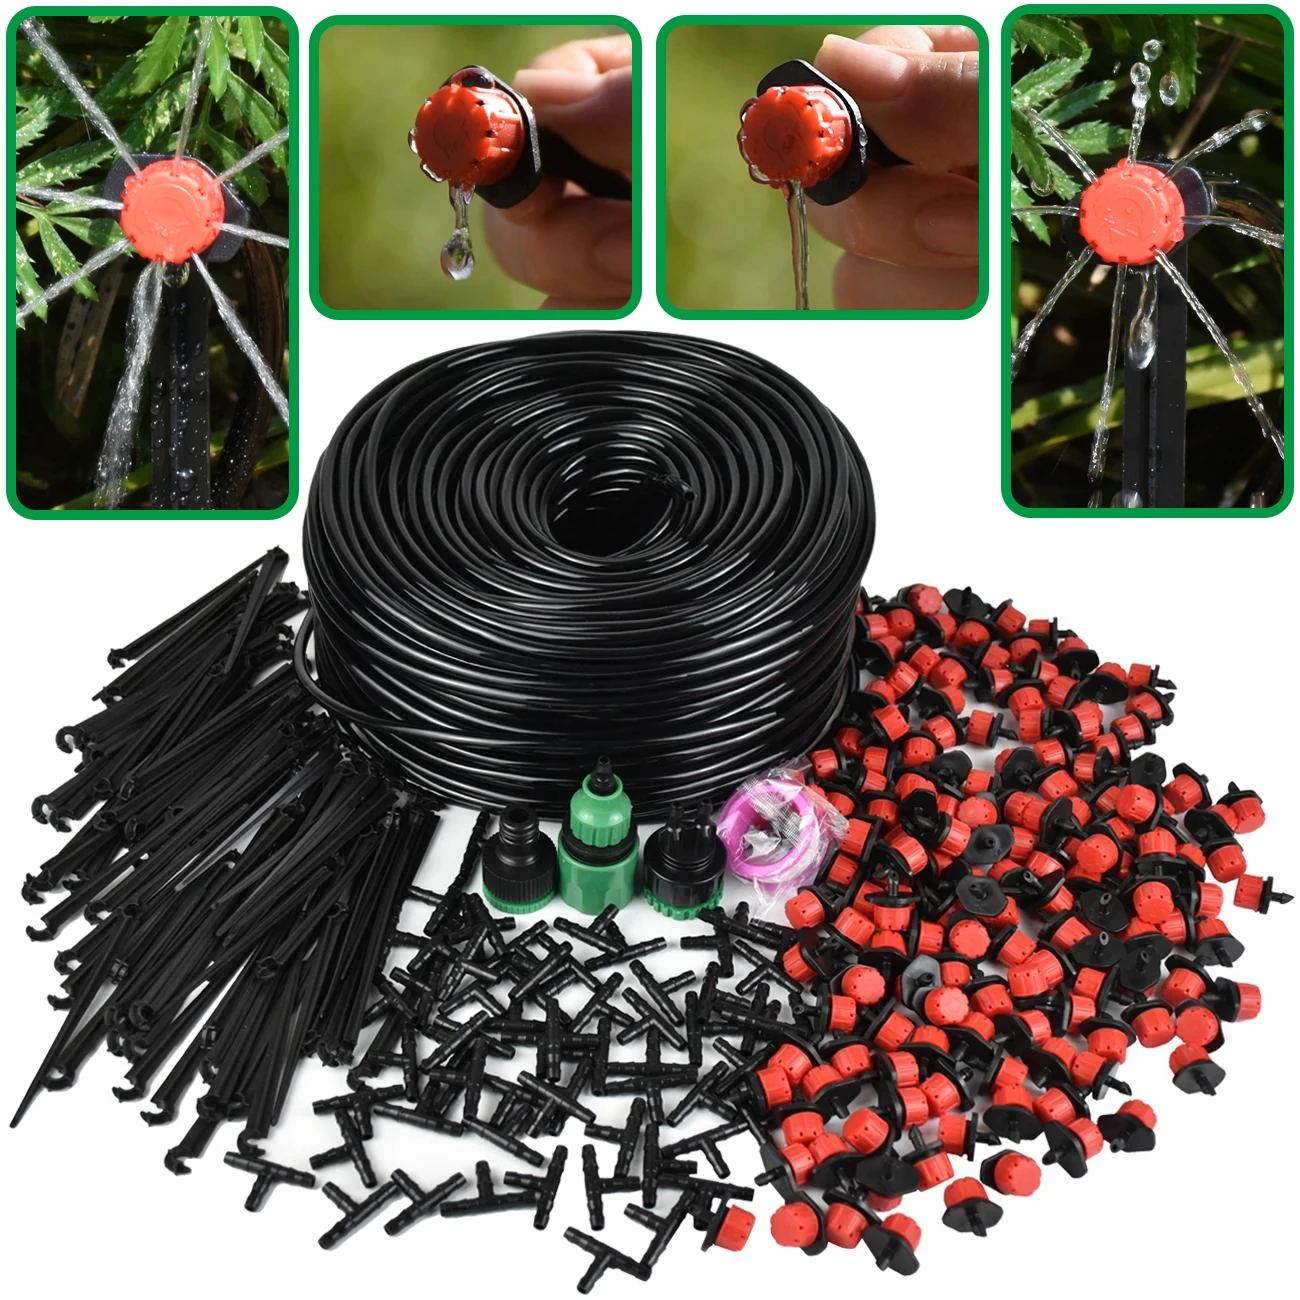
Drip Irrigation Starter Kit
A one-box shortcut when you want tubing, emitters, and fittings bundled together.
Shop via AliExpress
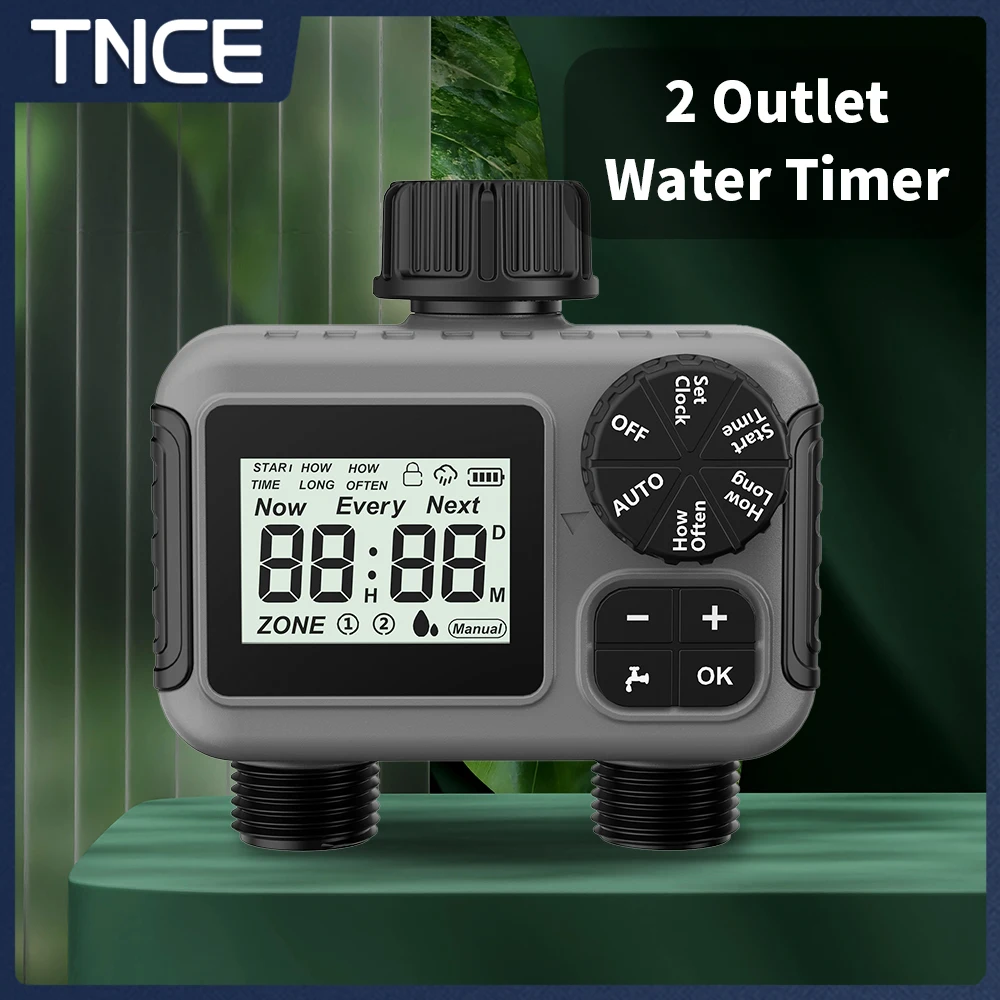
Programmable Hose Faucet Timer
The automation piece that turns a basic drip line into a low-maintenance setup.
Shop via AliExpress

Half-Inch Main Tubing
The main supply line for running water along the bed before branching to plants.
Shop via AliExpress

Connector And Stake Kit
Small fittings for splitting, anchoring, and adjusting the line as the layout changes.
Shop via AliExpress
Also useful if you are building from separate parts: pressure regulator / backflow adapter and quarter-inch emitter tubing.
Drip Irrigation Parts List: What You Need to Buy
Before assembling anything, you need the right parts. A functional drip system relies on a central water source that branches out into smaller, targeted lines. You can buy these pieces individually to customize your layout or start with a base kit and expand as needed.
- Faucet Hose Timer: This is the brain of the system. A digital, programmable timer attaches to your outdoor spigot and controls exactly when and how long the water flows.
- Backflow Preventer and Pressure Regulator: Often sold together as a single adapter, this piece screws onto the timer. It drops standard household water pressure down to a safe level for plastic tubing, helping prevent blowouts while keeping garden water from siphoning back toward the home supply.
- 1/2-Inch Main Distribution Tubing: This thick, solid black or brown polyethylene hose acts as the primary artery of your system. It carries water from the faucet to the general vicinity of your garden beds or planters.
- 1/4-Inch Emitter Tubing (Drip Line): This thinner, flexible tubing branches off from the main line to deliver water directly to the base of individual plants.
- Barbed Connectors and Tees: Small plastic fittings used to split lines, turn corners, or connect the 1/4-inch emitter tubing to the 1/2-inch main line. A bulk pack of generic plastic barbed tees and straight connectors will cover most layouts.
- Emitters and Stakes: Emitters regulate the actual drip rate, while plastic support stakes hold the 1/4-inch lines firmly in place in the soil.
- Hole Punch Tool: A simple, inexpensive plastic hand tool designed to puncture precise holes in the 1/2-inch main tubing for attaching the smaller lines.
How to Install Your Drip Irrigation System
Once the parts are ready, work from the faucet outward. This keeps the system logical and makes leak checks easier.
Step 1: Connect to the Water Source
The assembly begins at the hose bib. Thread the programmable timer directly onto the outdoor faucet. Next, attach the backflow preventer and pressure regulator unit to the bottom thread of the timer. If your adapter does not already include a hose-to-tubing adapter, screw one on now. This final fitting allows you to push the blunt end of the 1/2-inch main distribution tubing securely onto the water source. Hand-tighten all these connections; using a wrench can easily crack the plastic housings. Once attached, leave the faucet turned on permanently. The digital timer will act as the gatekeeper, opening and closing the internal valve according to your schedule.
Step 2: Lay the Main Tubing
Run the 1/2-inch main tubing from the faucet to the area where your plants are located. Keep the tubing flush against the ground, tucking it behind pots, along fence lines, or under a light layer of mulch to conceal it. If you need to navigate a sharp 90-degree corner, cut the tubing with heavy shears and insert a 1/2-inch barbed elbow fitting. Pushing the thick plastic over the barbs can be difficult; dipping the ends of the tubing in a mug of hot water for a few seconds will soften the plastic and make insertion much easier.
Once you have routed the main line past all your target watering zones, you need to close the system. Cut the tubing at the final destination and fold the end over, securing it with a plastic figure-eight end closure fitting.
Step 3: Branch Out the Driplines
With the main artery pressurized and capped, it is time to deliver water to the individual plants. Use the hole punch tool to snap a clean hole into the side of the 1/2-inch tubing near a plant you want to water. Press a 1/4-inch barbed straight connector into the punched hole until it clicks or seats firmly. Next, cut a length of the thinner 1/4-inch tubing and push one end onto the exposed barb.
Run this flexible line directly to the base of your plant. Cut the line to size and push a drip emitter into the final opening. Secure the emitter near the root zone using a plastic support stake so it does not shift when the water turns on. Repeat this process, branching off as many 1/4-inch lines as you have plants.
A common pitfall at this stage is overloading the main line or spacing emitters improperly. For larger shrubs or dense planters, you may need two or three emitters spaced evenly around the root base rather than a single drip point. If you notice the emitters at the very end of your yard produce barely any water, you have likely exceeded the capacity of a single 1/2-inch run and may need to split your system into two separate zones with a dual-outlet timer.
Final Testing
Once every emitter is staked and connected, manually trigger the timer to run for a few minutes. Walk the length of the system to check for unintended leaks at the barbed connections and confirm that every individual emitter is steadily dripping. After verifying the flow, set your digital schedule. Reclaiming your mornings and evenings from the hose nozzle is immediate, leaving the automated system to maintain steady, consistent moisture throughout the season.